Automated Follow-Ups for Wedding Vendors — Never Lose a Lead Again
Set up automated nudges, follow-up reminders, and stage changes so no wedding lead falls through the cracks. Configure automation on itsmy.wedding.
Can wedding vendors automate their client follow-ups?
Yes — itsmy.wedding includes a built-in automation system that handles the repetitive parts of lead management so you can focus on the creative work.
During peak season, a popular wedding vendor might receive 10 to 15 new inquiries per week across WhatsApp, Instagram, phone, and the platform. Responding to every lead within hours, following up after sending quotes, and re-engaging silent clients is a full-time job on its own.
The automation settings let you configure three types of rules: notification nudges that remind you when a lead needs attention, auto stage changes that move stale leads to Cold or Lost after a configurable period, and follow-up message templates that give you ready-to-send drafts when a client goes silent. Everything is customisable — you control the timing, the wording, and whether each rule is active.
TL;DR
Configure automated nudges, draft follow-up messages, and auto stage changes. You control the timing and wording — the system handles the reminders.
Open your Automation Settings

From your vendor dashboard, navigate to Settings and then Automation. This page has three sections: Notification Rules, Auto Stage Changes, and Follow-up Message Templates.
Each section contains toggle switches to enable or disable individual rules, and timing controls to set exactly when each rule should trigger. The page loads your current settings — if you have not configured anything before, you will see the platform defaults which are a good starting point.
Configure notification rules

The Notification Rules section has three rules you can enable:
- Nudge for new leads — Sends you a reminder if you have not responded to a new lead within a set number of hours (default: 4 hours).
- Nudge for overdue follow-ups — Alerts you when a scheduled follow-up has passed its due date.
- Draft follow-up for silent clients — Automatically drafts a follow-up message when a client has not replied within a set number of days.
Toggle each rule on or off with the switch, and adjust the timing using the number input beside it. For example, set the new lead nudge to 2 hours if you want faster response times, or 8 hours if you prefer more breathing room.
Set up auto stage changes

The Auto Stage Changes section moves inactive leads through your pipeline automatically:
- Auto-mark leads as Cold — When there has been no activity on a lead for a set number of days (default: 14), the lead's priority is automatically changed to Cold. This keeps your active pipeline clean.
- Auto-mark leads as Lost — When a cold lead has had no activity for an even longer period (default: 30 days), it is moved to the Lost stage. This prevents stale leads from cluttering your pipeline.
These rules only change the stage — they do not delete the lead. You can always re-open a Lost lead if the client comes back. Adjust the day counts to match your typical sales cycle.
Customise follow-up message templates

The Follow-up Message Templates section lets you customise three types of draft messages:
- Initial Follow-up — Used when a new lead has not heard back from you. Example: "Hi {clientName}, thank you for your interest in {vendorName} for your {eventType}."
- Post-Quote Check-in — Used after you have sent a quotation and the client has not responded. This keeps the conversation going without being pushy.
- Re-engagement — Used for leads that have gone cold. A gentle message to check if they are still planning their event.
Each template supports four variables: {clientName}, {eventType}, {vendorName}, and {eventMonth}. Write your templates in your own voice — these are drafts that you review before sending, not automated messages.
Save your settings

After configuring your rules and templates, click Save Settings at the bottom of the page. A confirmation toast appears when your settings are saved successfully.
If you want to start over, click Reset to Defaults to restore the platform's recommended settings. This is useful if you have experimented with different timings and want to go back to a known-good configuration. Remember that resetting does not save — you still need to click Save Settings to apply the defaults.
Next Steps
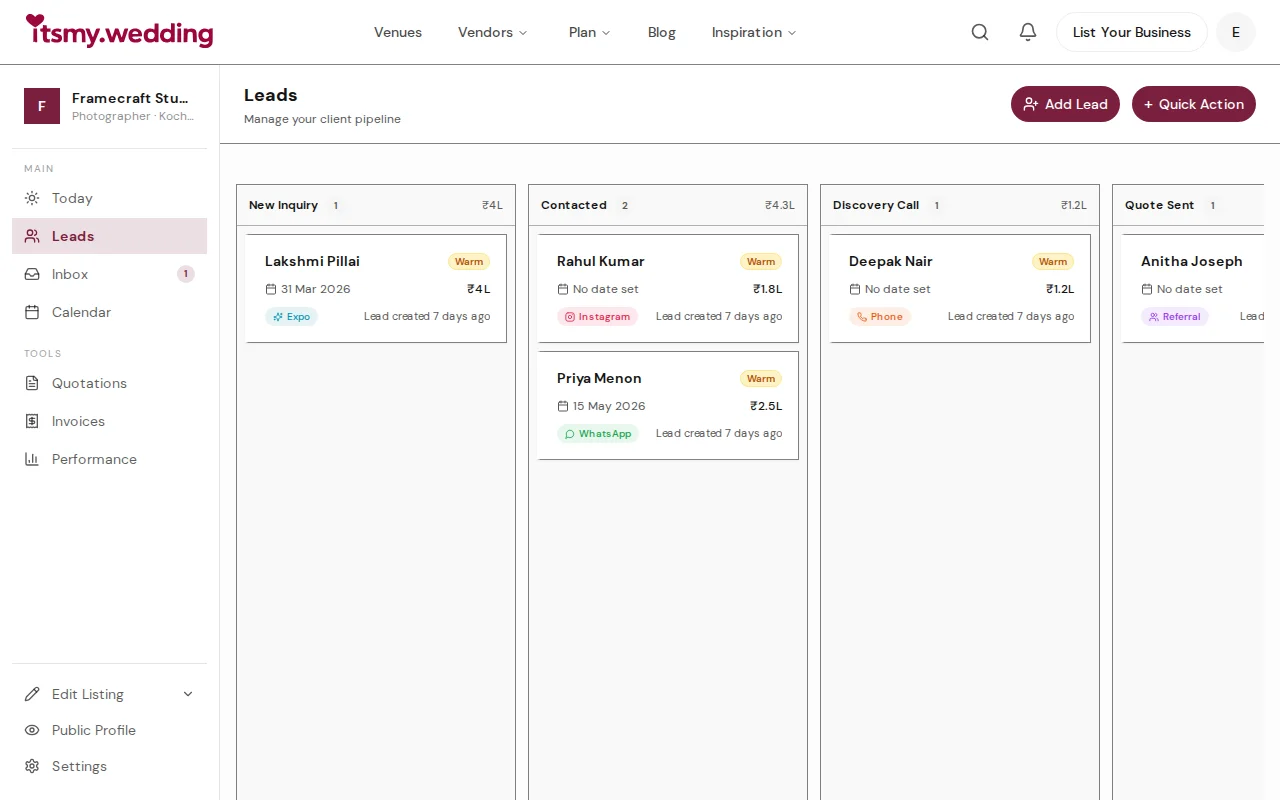
- Track leads from every channel — manage your full pipeline
- Managing booking requests — respond to inquiries and send quotations
- Track payments and milestones — never lose track of who owes what
Frequently Asked Questions
Keep learning
Related Guides
Wedding Vendor CRM — Track Leads from WhatsApp, Instagram & Referrals
Manage all your wedding inquiries in one pipeline. Track leads from every channel with automated follow-ups on itsmy.wedding.

Wedding Booking Management — Send Quotes & Confirm Events Online
Manage booking requests, send professional quotations, and confirm wedding events from your vendor dashboard on itsmy.wedding.

Quick-Add Wedding Vendors in the Field — Sales Team Guide
Register a new wedding vendor in 60 seconds during a field visit. Step-by-step guide for sales executives using the Quick Add flow on itsmy.wedding.