Quick-Add Wedding Vendors in the Field — Sales Team Guide
Register a new wedding vendor in 60 seconds during a field visit. Step-by-step guide for sales executives using the Quick Add flow on itsmy.wedding.
How do sales executives register a vendor in 60 seconds during a field visit?
When you meet a wedding vendor at an expo, during a field visit, or through a referral, you want to capture their details immediately — before you forget or they lose interest. The Quick Add flow is designed for exactly this: register a vendor in under a minute with just their name, category, city, phone number, and email.
Once you tap submit, the vendor receives an automatic invitation via email and WhatsApp. They can claim their profile, complete the onboarding, and start receiving booking requests — all without you needing to do any further work.
The Quick Add flow captures the minimum information needed to create a vendor shell. If you have more time and the vendor is sitting with you, use the Concierge Mode (Build Full Profile) instead to create a complete storefront in one sitting.
TL;DR
Register a vendor in 60 seconds with their name, category, city, and phone. They get an automatic invite via email and WhatsApp to claim their profile.
Open your Sales Dashboard

Log in to the platform and navigate to your Dashboard. As a sales executive, your dashboard shows four stat cards: vendors onboarded this month, pending vendor claims, completed and active profiles, and profiles that need attention.
Below the stats, you will see a table of all vendors you have onboarded, with their current status, category, and location. The Quick Add button at the top is your primary tool for field registrations.
Click Quick Add

Click the Quick Add button at the top of your dashboard. This takes you to a clean, single-page form designed for speed. The form has five fields: business name, vendor category, city, phone number, and contact email.
The category dropdown includes all 21 wedding vendor types — Photographer, Videographer, Venue, Caterer, Makeup Artist, Decorator, and more. The city field uses a searchable dropdown so you can quickly find any location in Kerala.
Fill in the vendor details

Enter the vendor's details as they share them with you. The phone number is the most critical field — this is how the vendor will receive their WhatsApp invitation and how the platform identifies them.
For the category, choose the vendor's primary service. If they offer multiple services (e.g., Photography and Videography), register them under their main category. They can add secondary services later when enriching their profile.
Submit and send the invite

Tap Create Vendor Profile to submit the form. The system creates the vendor's shell profile, sends an invitation email and a WhatsApp message simultaneously, and redirects you to a success screen.
The success screen confirms the profile was created and shows the vendor's name. From here, you can tap Add Another Vendor to register the next one (useful at expos where you meet many vendors in a row), or tap Back to Dashboard to return to your vendor table.
See the vendor in your table

Back on your dashboard, the newly created vendor appears in your vendor table with a Pending Claim status badge. This means the profile exists in the system but the vendor has not yet signed up and claimed it.
You can track the vendor's progress from here. When they claim the profile, the status changes to "Incomplete" (they still need to add photos and services) and then to "Active" once their profile is approved. Use the reminder buttons on each row to nudge vendors who have not claimed their profile.
Next Steps
- Build a full vendor profile — use Concierge Mode when you have more time with the vendor
- Monitor your onboarded vendors — track claim rates and follow up on pending profiles
Frequently Asked Questions
Keep learning
Related Guides

Build a Complete Vendor Profile — Concierge Mode for Sales Teams
Create a complete, professional vendor storefront on their behalf using the full onboarding wizard. Step-by-step guide for sales executives.

Track Your Onboarded Vendors — Sales Executive Dashboard
Monitor vendor onboarding status, track claim rates, filter by status, and send reminders from your sales executive dashboard on itsmy.wedding.
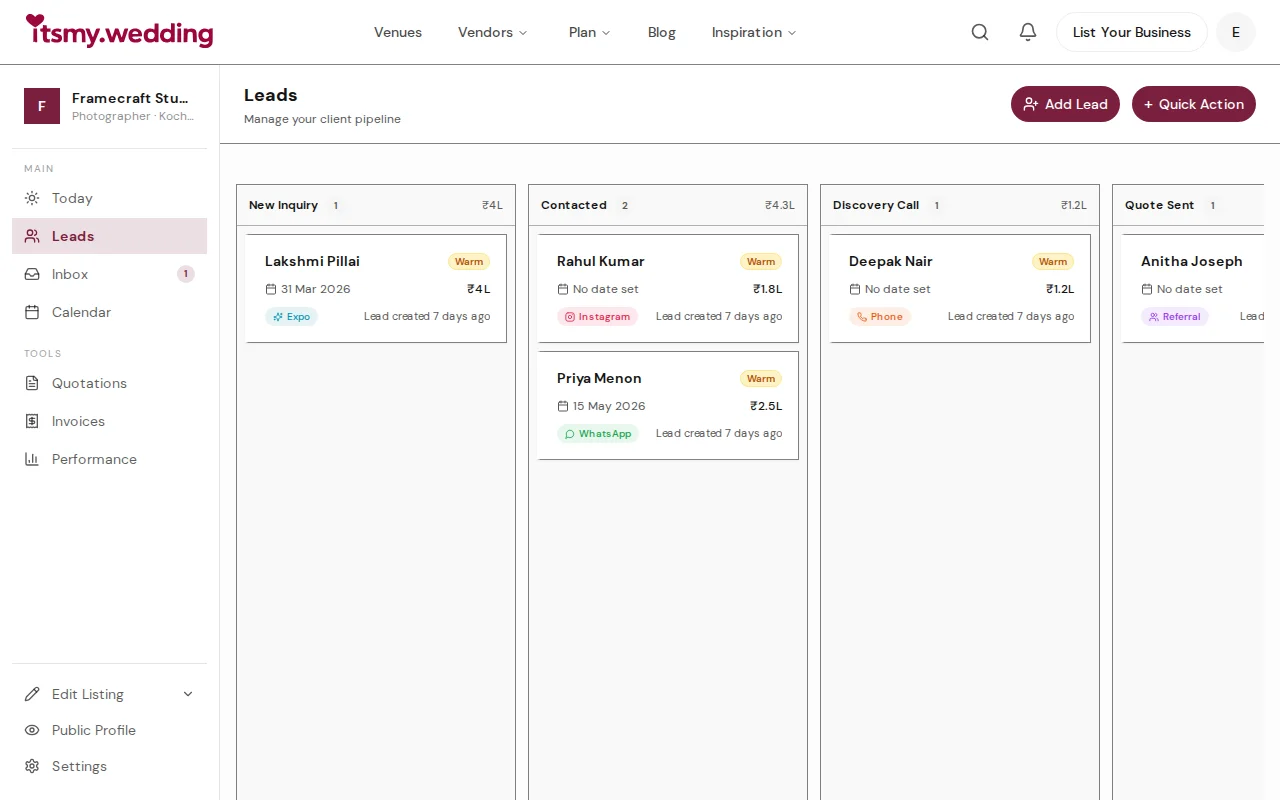
Wedding Vendor CRM — Track Leads from WhatsApp, Instagram & Referrals
Manage all your wedding inquiries in one pipeline. Track leads from every channel with automated follow-ups on itsmy.wedding.