Build a Complete Vendor Profile — Concierge Mode for Sales Teams
Create a complete, professional vendor storefront on their behalf using the full onboarding wizard. Step-by-step guide for sales executives.
How do you build a complete, professional vendor profile on their behalf?
Concierge Mode is the full onboarding wizard that lets a sales executive create a complete, publication-ready vendor profile in a single sitting. Unlike Quick Add (which creates a minimal shell), Concierge Mode walks through every section: category selection, business details, gallery photos, services, and contact information.
The advantage is speed-to-live. A vendor whose profile is 80% complete at creation gets approved faster, ranks higher in search results, and starts receiving booking requests sooner. Many vendors are busy professionals who would rather have someone set things up for them — Concierge Mode lets you do exactly that.
The wizard is four steps long. Each step collects a specific set of information and validates it before allowing you to proceed. At the end, the vendor receives an invitation to claim and review the profile you have built.
TL;DR
Use the full onboarding wizard to build a complete vendor storefront — category, business details, photos, and contact info — in one sitting. The vendor claims it and goes live faster.
Choose Concierge Mode from the dropdown

On your Sales Dashboard, find the Quick Add button at the top. Next to it is a small dropdown arrow — click it to reveal two options: Quick Add (the fast path) and Build Full Profile (Concierge Mode).
Click Build Full Profile to open the full onboarding wizard. This is the same wizard that vendors use when they sign up themselves, but you are filling it out on their behalf.
Step 1 — Select the vendor category

The first step presents all 21 vendor categories as cards. Each card shows the category name and a brief description. Click the card that matches the vendor's primary service.
This is an important choice — the category determines which fields appear in subsequent steps. A venue will be asked about seating capacity and in-house catering, while a photographer will be asked about shooting style and equipment. Choose the vendor's main offering; secondary services can be added later.
Step 2 — Enter business details

Step 2 is the most information-dense screen. Enter the vendor's business name, a compelling description (2 to 3 sentences about what makes them unique), their location, and starting price.
Below the core fields, you will see category-specific fields tailored to the vendor's profession. For a venue, this includes seating capacity, catering type, and parking availability. For a photographer, it includes shooting style, equipment, and delivery timeline. Fill in as much as the vendor can provide.
Step 3 — Upload gallery photos

Step 3 lets you upload the vendor's portfolio photos. The upload area supports drag-and-drop and multi-file selection. Ask the vendor to share their best 5 to 10 photos via WhatsApp or AirDrop during the meeting.
Each photo is automatically processed — resized for web delivery and thumbnailed for gallery previews. You can reorder photos by dragging them and set the first photo as the cover image that appears on the vendor's card in search results.
Step 4 — Add contact information

The final step collects the vendor's contact details: phone number, email address, WhatsApp number, Instagram handle, and business address. The phone number and email are used for the invitation to claim the profile.
Once you click Submit, the system creates the full profile, sends the invitation, and redirects you to a success screen. The vendor's profile is now ready for review by the platform team, and the vendor can claim it at any time.
Review the profile on desktop

On a desktop or laptop, the wizard layout expands to show more fields side by side. This is the ideal setup for a concierge session — you can see more of the form at once, upload multiple photos quickly, and review the vendor's information before submitting.
If you are doing concierge onboarding at your office or on a laptop in the field, the desktop layout gives you the best experience for building a thorough, professional profile.
Next Steps
- Quick-add a vendor — for faster registrations when you have limited time
- Monitor your onboarded vendors — track claim rates and profile completion
Frequently Asked Questions
Keep learning
Related Guides

Quick-Add Wedding Vendors in the Field — Sales Team Guide
Register a new wedding vendor in 60 seconds during a field visit. Step-by-step guide for sales executives using the Quick Add flow on itsmy.wedding.

Track Your Onboarded Vendors — Sales Executive Dashboard
Monitor vendor onboarding status, track claim rates, filter by status, and send reminders from your sales executive dashboard on itsmy.wedding.
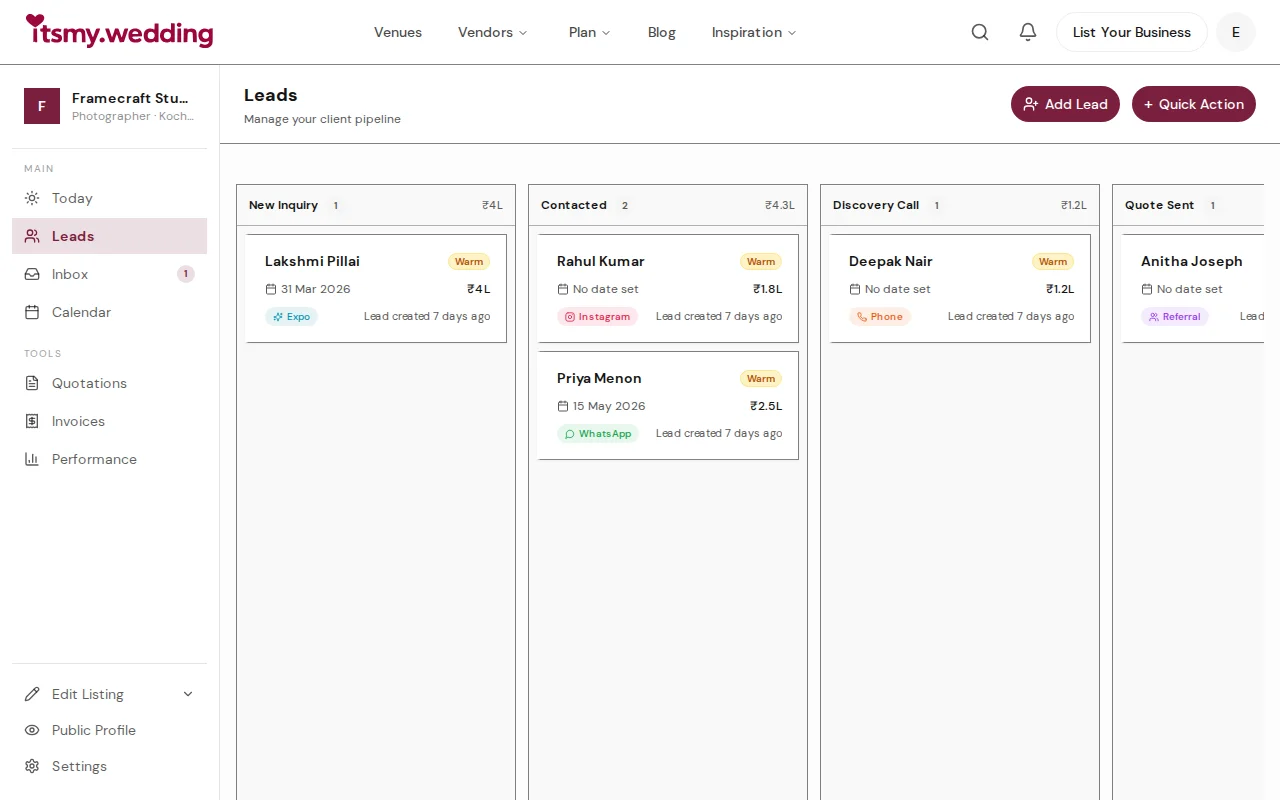
Wedding Vendor CRM — Track Leads from WhatsApp, Instagram & Referrals
Manage all your wedding inquiries in one pipeline. Track leads from every channel with automated follow-ups on itsmy.wedding.